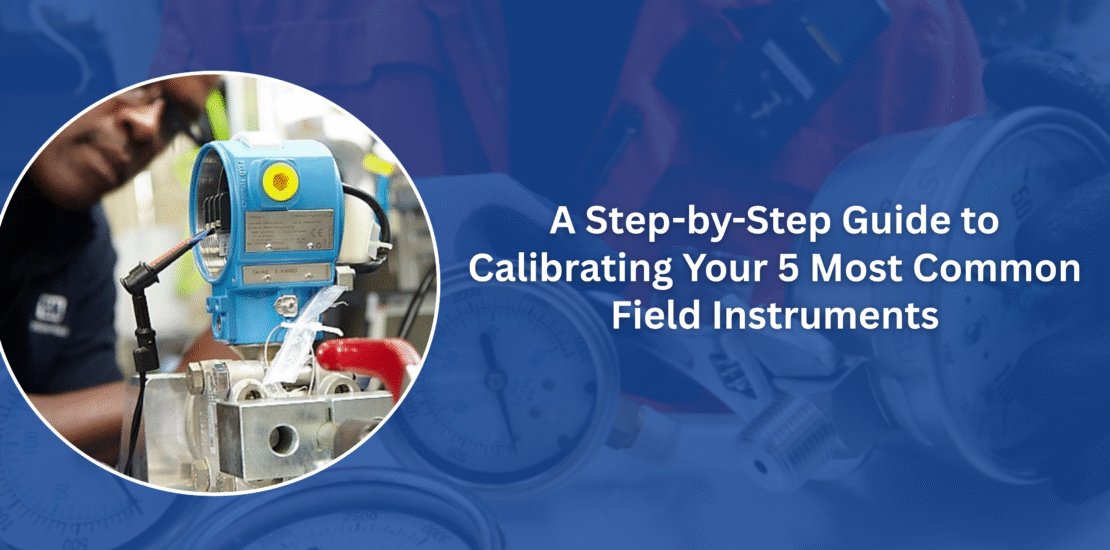
A Step-by-Step Guide to Calibrating Your 5 Most Common Field Instruments
- November 16, 2025
- Posted by: editor
- Category: Knowledge Hub

Introduction: The Business Case for Precision
In any modern industrial facility – be it an oil and gas refinery, a power-generation plant, or a pharmaceutical manufacturing site – your control system is the “brain” of the operation. But this brain is completely blind without its “senses”: the thousands of field instruments measuring pressure, temperature, flow, and level every millisecond.
The hard truth is that these “senses” drift. It’s an unavoidable reality of physics. Vibrations, process-fluid abrasion, temperature cycles, and simple time all conspire to create a small – and then growing – gap between what the instrument reads and what the process is.
This gap is known as “instrument drift,” and it is one of the most significant hidden liabilities in your plant.
When a pressure transmitter reads 2% low, it’s not a minor inconvenience; it’s a direct threat. It can lead to compromised product quality, catastrophic safety failures (a core concern in SIL Verification), and inefficient operations that quietly drain your Opex.
This is why calibration – the act of verifying and adjusting an instrument against a known, traceable standard – is not a low-level maintenance task. It is a high-value engineering function and a cornerstone of operational integrity.
While our iPAC teams provide comprehensive Commissioning and Site Support Services to manage this entire lifecycle, we believe a well-informed partner is a better partner. By understanding the rigorous, step-by-step process of calibration, you can more clearly see the value of precision and the expertise required to achieve it.
This guide will walk you through the high-level methodology for calibrating the five most common instruments in your facility.
The Foundation: What Happens Before a Single Wrench is Turned
The difference between an amateur and a professional is in the preparation. Rushing to the field with a calibrator is a recipe for inefficiency and error. World-class calibration, like the kind we execute during major commissioning projects, begins with a data-driven strategy.
- The “Single Source of Truth”: The process starts at the desk, not the platform. We tap into the master database – your SmartPlant Instrumentation (SPI) system. This is where the instrument’s “birth certificate” lives. We pull the tag number, the P&ID, the required calibration range (e.g., 0-100 PSI), the acceptable tolerance (e.g., ±0.25%), and the process fluid. An engineer with SPI Admin Support ensures this data is accurate; without it, you are guessing.
- Safety First & Always: This is the most critical step. A robust Permit-to-Work (PTW) is secured. A full Lock-Out/Tag-Out (LOTO) is performed. The technician must ask: Is this a hazardous area? Does this instrument need to be purged of toxic fluid? Is it part of a Safety Instrumented System (SIS) that requires a bypass to be logged?
- The Right Tools: You cannot verify precision without a tool that is more precise. All test equipment – from a digital multimeter and a hand-pump calibrator to a temperature dry-block – must have its own valid calibration certificate, traceable to a national standard.
Once these foundational steps are complete, the field work can begin.
1. The Workhorse: The Pressure Transmitter
This is the most common instrument in any plant, used for everything from vessel pressure to differential pressure (DP) for flow and level.
- Step 1: Isolate. The technician locates the instrument, typically connected to a 3-valve or 5-valve manifold. They close the “block” valve(s) to isolate it from the live process and open the “bleed” valve to safely vent any trapped pressure.
- Step 2: Connect. The high-pressure port of the calibrator (e.g., a Beamex or Fluke) is connected to the instrument’s high-side port.
- Step 3: The “As-Found” 5-Point Check. This is the moment of truth. The technician applies known pressure values to simulate 0%, 25%, 50%, 75%, and 100% of the instrument’s span. At each point, they record the instrument’s output (e.g., “At 50 PSI, the transmitter reads 11.98mA” instead of the perfect 12.00mA). This “As-Found” data is a critical audit record.
- Step 4: Adjust. If the “As-Found” data is outside the tolerance, an adjustment is made. On modern “smart” transmitters, this is a simple digital command from a HART communicator. On older analog units, it involves turning physical “Zero” and “Span” potentiometers.
- Step 5: The “As-Left” 5-Point Check. After adjustment, the 5-point test is performed again. This data is recorded as the “As-Left” state, proving the instrument is now within specification. The instrument is then safely returned to service.
2. The Guardian: The Temperature Transmitter (RTD/TC)
Temperature is critical for both product quality and asset safety. Calibration here often means checking the transmitter separately from the sensor.
- Step 1: Isolate (Electronically). The technician disconnects the wires coming from the sensor (the RTD or Thermocouple) at the transmitter’s terminal head.
- Step 2: Simulate. A precision “simulator” is connected in place of the sensor. This device generates an exact electrical signal that mimics the sensor at a specific temperature (e.g., it will output the exact millivoltage of a K-Type thermocouple at 500°C).
- Step 3: The “As-Found” 5-Point Check. The technician simulates 0%, 25%, 50%, 75%, and 100% of the temperature range, checking the transmitter’s 4-20mA output at each point.
- Step 4: Adjust & The “As-Left” Check. Just like the pressure transmitter, the unit is adjusted if out of spec, and a final “As-Left” report is generated.
- The Expert Step: A “true” calibration, which our Commissioning teams perform, also verifies the sensor itself. This involves placing the sensor in a “dry-block” calibrator (a portable, high-precision oven) alongside a traceable reference thermometer to check for sensor drift, which is a common but often-missed point of failure.
3. The Cash Register: The Flow Meter (Magnetic/Coriolis)
Flow meters are often the “cash registers” of the plant, measuring the exact amount of product being made or transferred. This is where the challenge escalates.
- The Challenge: Unlike a pressure transmitter, you cannot easily calibrate a flow meter in the field. A true calibration requires running a known-volume fluid through the meter, a process that demands a multi-million-dollar “proving rig.”
- The Process: Verification vs. Calibration
- Step 1: In-Situ Verification. Modern Coriolis and Magnetic flow meters (from brands like Endress+Hauser or Emerson) have on-board “verification” tools. A specialized handheld device or software prompts the meter to run an internal diagnostic, checking the integrity of its electronics and sensor tubes against its original factory “fingerprint.”
- Step 2: Transmitter Check. The transmitter’s 4-20mA output and pulse outputs are checked with a simulator to ensure the “brain” is working, even if the “body” (the sensor) can’t be fully tested.
- Step 3: The Critical Zeroing. If the process allows, the most important field adjustment is a “zero” calibration. This is done by stopping the flow completely – while ensuring the pipe remains full – and giving the meter a command to “re-learn” what “zero flow” looks like.
- The iPAC Advantage: Our Instrumentation Engineering Service Providers build a lifecycle strategy. We specify the right meter with the right diagnostics upfront, so that for the next 20 years, you can rely on high-confidence “Verification” rather than costly and disruptive “Calibration” removals.
4. The Balancing Act: The DP Level Transmitter
This instrument is identical to a pressure transmitter but is used in a different application. It measures the level in a tank by reading the “head pressure” of the fluid column.
- Step 1: Isolate. The technician closes the block valves on both the “high-pressure” (bottom) and “low-pressure” (top) sides of the tank.
- Step 2: The Critical Vent. This is where errors are made. Both sides of the instrument must be vented to the atmosphere. For a “wet leg” (a common setup), this involves draining a reference fluid to a known level.
- Step 3: Simulate. A pressure calibrator is attached to the “high” side. The technician simulates the pressure for “0% level” (an empty tank) and “100% level” (a full tank).
- The iPAC Advantage: The real challenge here is not the calibration; it’s the calculation. The correct pressure range depends on the fluid’s specific gravity, the tank’s geometry, and the height of the taps. Our Instrumentation Detail Engineering teams find that incorrect range calculations are the #1 cause of level-measurement error. We fix these design flaws in the SPI database before commissioning, preventing a lifetime of bad data.
- Step 4 & 5: “As-Found” / “As-Left.” A standard 5-point check is performed to verify and adjust the transmitter.
5. The Compliance Cop: The Analytical Instrument (pH/ORP)
These instruments are the fussiest of all. They are essential for water-treatment compliance and product quality, but their sensors are consumables that are actively “used up” by the process.
- The Difference: This is less about “drift” and more about “decay.”
- Step 1: Isolate & Clean. The probe is carefully removed from the process. It is gently rinsed with deionized water and blotted dry – never wiped, which would damage the sensitive glass.
- Step 2: The 2-Point Buffer. The probe is submerged in a “buffer” solution of a known, stable value (e.g., pH 7.00). The technician adjusts the “zero” or “offset” on the transmitter.
- Step 3: The 3-Point Buffer. The probe is then rinsed and placed in a second buffer (e.g., pH 4.01). The technician adjusts the “span” or “slope.” A third buffer (e.g., pH 10.00) may be used for high-range accuracy.
- Step 4: Check the Slope. This is the real data. A brand-new probe has a “slope” of 95-102%. As it ages, this number drops. A probe that calibrates but has a slope of 85% is a “dead probe walking.” It will fail soon.
- The iPAC Advantage: We don’t just calibrate; we perform predictive maintenance. Our PLC Programmers and SCADA Development Services can build logic to trend this “slope” data. We set an advisory alarm in the HMI when a probe’s slope drops below 90%, alerting you to order a replacement before it fails and sends your plant into shutdown.
Conclusion: From a Tactical Task to a Strategic Partnership
As you can see, “calibration” is not a simple-wrench-turning commodity. It is a data-driven, safety-focused engineering discipline that requires deep process knowledge, meticulous documentation, and a significant investment in traceable, high-precision equipment.
Every instrument that is discovered in an “As-Found” state outside of its specification represents a period of unknown risk – risk to your people, your product, and your profits.
Your team’s core focus should be on optimizing production. Our focus at iPAC Automation is to ensure the data you use to make those critical decisions is beyond reproach. From managing your entire instrument database in SPI to executing large-scale commissioning and maintenance campaigns, we provide the “assurance” in your “quality assurance.”
When you are ready to evolve your plant from a reactive to a predictive maintenance culture, our experts are ready to build that framework with you.
